Implementing Google Authentication with Node.js, Express, Passport.
Introduction
In this tutorial, we will explore how to set up Google Authentication in a Node.js and Express application using Passport. Additionally, we'll provide a client-side connection example to demonstrate the end-to-end flow.
Prerequisites
Before we begin, make sure you have the following installed:
- Node.js and npm
- Visual Studio Code or any preferred code editor
Setting Up the Backend
- Install Dependencies
Create a new project folder and initialize it with npm init:
npm init -y
Install the necessary dependencies:
npm install express passport passport-google-oauth20 express-session
- Configure Passport for Google Authentication
Create a config folder and a passport.js file inside it. Add the following code:
// config/passport.js

const passport = require("passport");
const GoogleStrategy = require("passport-google-oauth20").Strategy;

passport.serializeUser((user, done) => {
  done(null, user);
});

passport.deserializeUser((obj, done) => {
  done(null, obj);
});

passport.use(
  new GoogleStrategy(
    {
      clientID: "YOUR_GOOGLE_CLIENT_ID",
      clientSecret: "YOUR_GOOGLE_CLIENT_SECRET",
      callbackURL: "http://localhost:3000/auth/google/callback",
    },
    (accessToken, refreshToken, profile, done) => {
      return done(null, profile);
    }
  )
);
- Set Up Express Application (index.js)
// index.js

const express = require("express");
const passport = require("passport");
const session = require("express-session");
require("./config/passport");

const app = express();

app.use(
  session({ secret: "your-secret-key", resave: true, saveUninitialized: true })
);
app.use(passport.initialize());
app.use(passport.session());

// Define your routes here...

const PORT = process.env.PORT || 3000;
app.listen(PORT, () => {
  console.log(`Server is running on http://localhost:${PORT}`);
});
- Implement Google Authentication Routes
Create a routes/auth.js file:
// routes/auth.js

const express = require("express");
const passport = require("passport");

const router = express.Router();

router.get(
  "/google",
  passport.authenticate("google", { scope: ["profile", "email"] })
);

router.get(
  "/google/callback",
  passport.authenticate("google", { failureRedirect: "/" }),
  (req, res) => {
    res.redirect(`/?user=${req?.user?.displayName}`);
  }
);

router.get("/logout", (req, res) => {
  req.logout();
  res.redirect("/");
});

module.exports = router;
Include these routes in your index.js file:
// index.js

// ... (previous code)

const authRoutes = require("./routes/auth");

app.use("/auth", authRoutes);

// ... (remaining code)
This concludes the backend setup for Google Authentication using Node.js, Express, Passport. In the next section, we'll implement the client-side connection example.
Setting Up the Frontend
- Install Dependencies
Create a client folder and navigate to it:
mkdir client
cd client
Initialize a new React app:
npx create-react-app .
Install the necessary dependencies:
npm install react-router-dom axios
- Create a Google Login Button Component
Replace the content of src/App.js with the following code:
// src/App.js

import React from "react";
import { BrowserRouter as Router, Route, Link } from "react-router-dom";

const Home = () => {
  let params = new URL(document.location).searchParams;
  let user = params.get("user");
  return (
    <div>
      <h2>Welcome to the Application!</h2>
      <p>
        {/* Display user information if authenticated */}
        {user ? (
          <div>
            <p>Hello, {user}!</p>
            <a href="/auth/logout">Logout</a>
          </div>
        ) : (
          <Link to="/auth/google">Login with Google</Link>
        )}
      </p>
    </div>
  );
};

export default Home;
- Update src/index.js
Modify src/index.js to include the necessary routes:
// src/index.js

import React from "react";
import ReactDOM from "react-dom";
import { BrowserRouter as Router, Route } from "react-router-dom";
import App from "./App";
import "./index.css";

ReactDOM.render(
  <Router>
    <Route path="/" component={App} />
  </Router>,
  document.getElementById("root")
);
- Run the Application
Back in the client directory, start the React app:
npm start
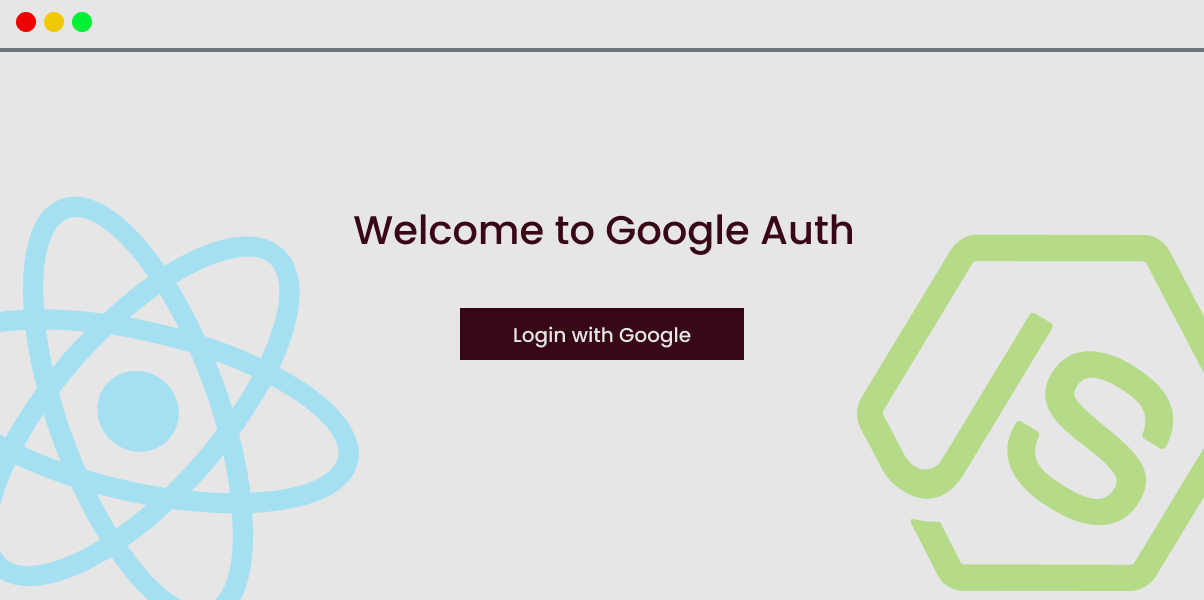
Visit http://localhost:3000 in your browser and explore the application.
Conclusion
Congratulations! You've successfully implemented Google Authentication using Node.js, Express, Passport for both the backend and frontend. This comprehensive guide should help you integrate authentication into your projects seamlessly.
Feel free to enhance the application further by adding additional features or customizing the user interface to suit your needs.
This concludes our tutorial on Google Authentication with Node.js, Express, Passport. If you have any questions or face any issues, feel free to reach out.
Happy coding!
— Next Blogs
The Three Sum problem is a classic coding challenge that often appears in technical interviews. It involves finding all unique triplets in an array of numbers that add up to a target sum. In this blog post, we'll explore how to solve this problem in JavaScript.
Explore the fundamentals of custom hooks and dive into React's hook system. This tutorial will empower you to build reusable 'usePrevious' hooks for better state management in your React applications.